Getting started with an admin account
If you are new to the Rbean LMS - welcome!
In this guide, you will learn:
- how course materials are structured in the LMS
- how to create your first, basic course
Organisation of course materials
Philosophy
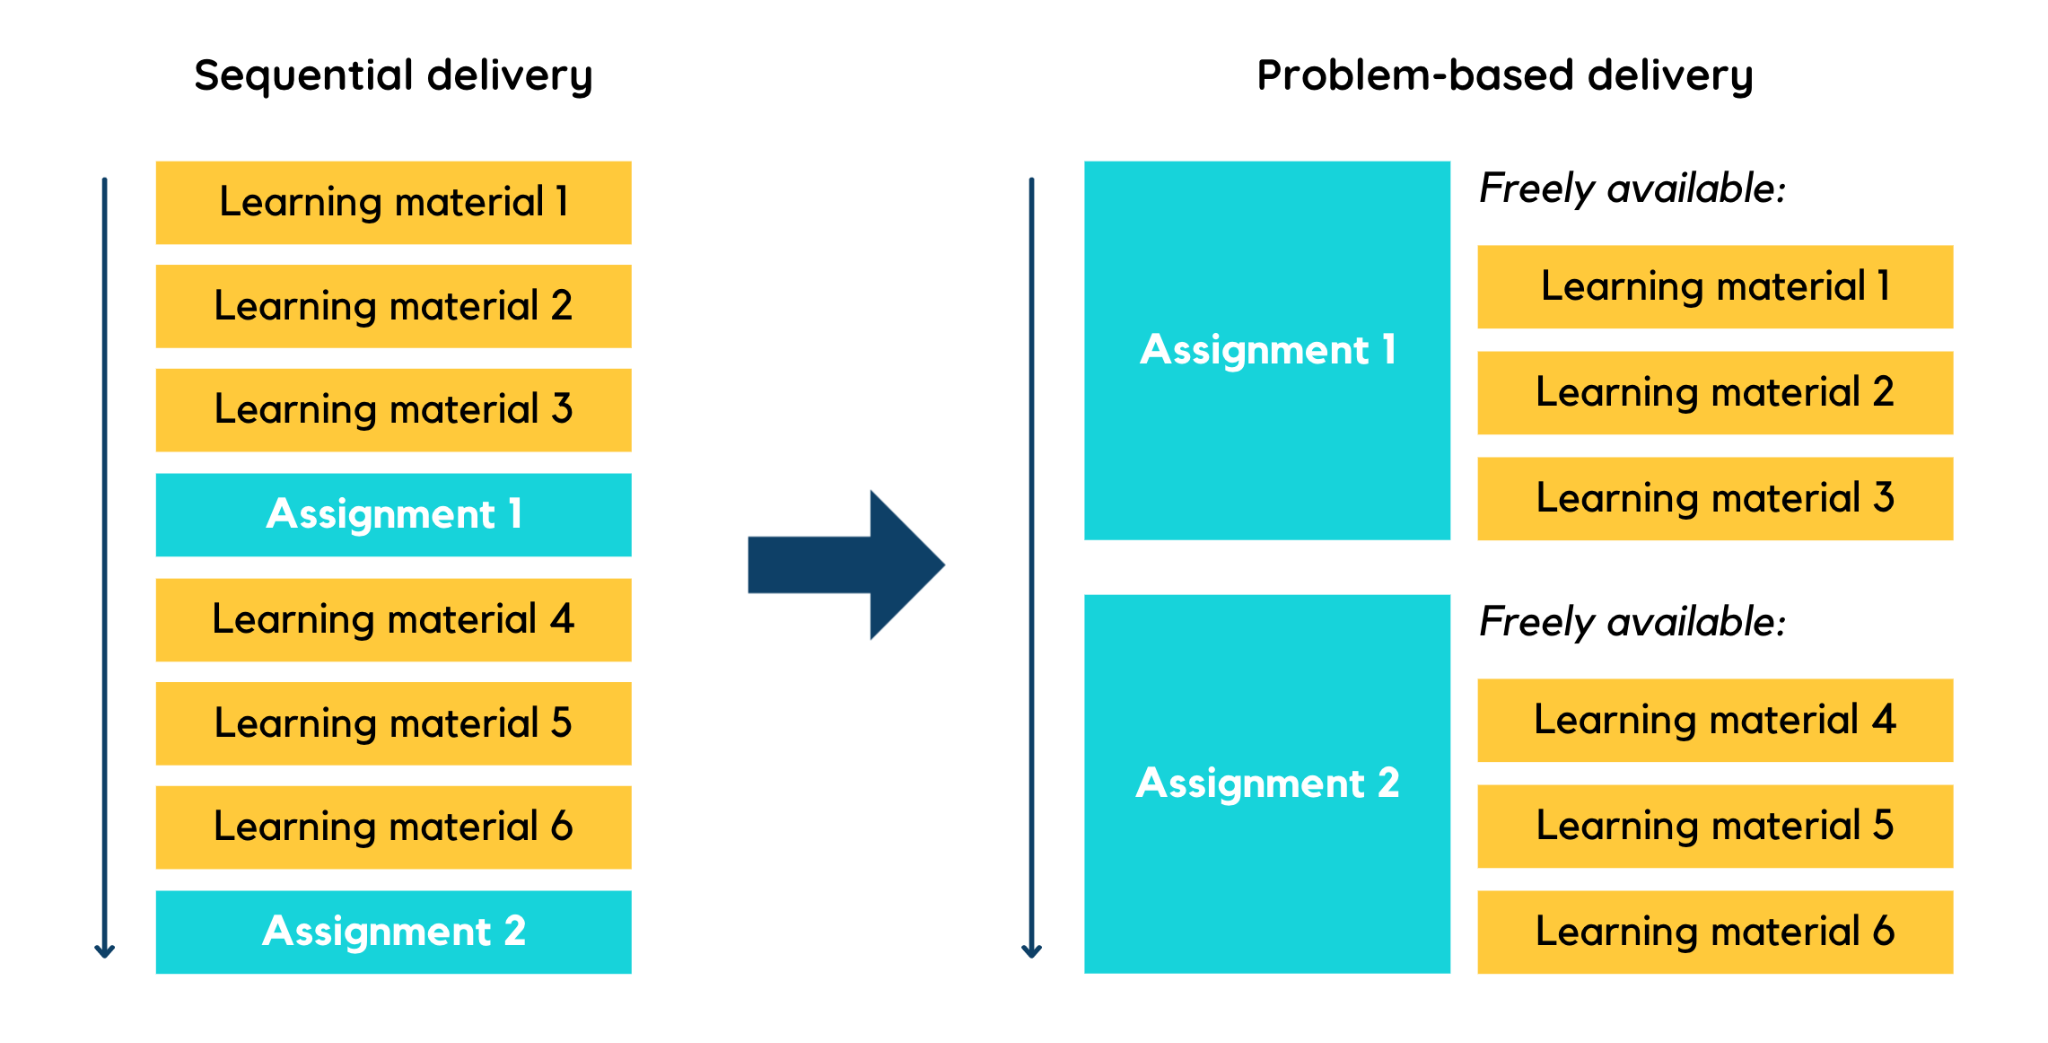
Rbean is an LMS for active pedagogies.
It's structured around the work that students ship, with everything else (learning materials, quizzes, reviews...) supporting that work.
It's not made for linear content delivery where students go through one screen after the other.
So if you are used to other platforms, you will need to shift your course building logic:
In Rbean lingo, all assignments are called projects.
You can have:
- A single-page project with a single deliverable
- A project broken into several sub-parts with a single deliverable
- A "project" made of several exercises
Course breakdown
So, projects are the building blocks of any course.
But to organise things a little, you have to package them together in a unit.
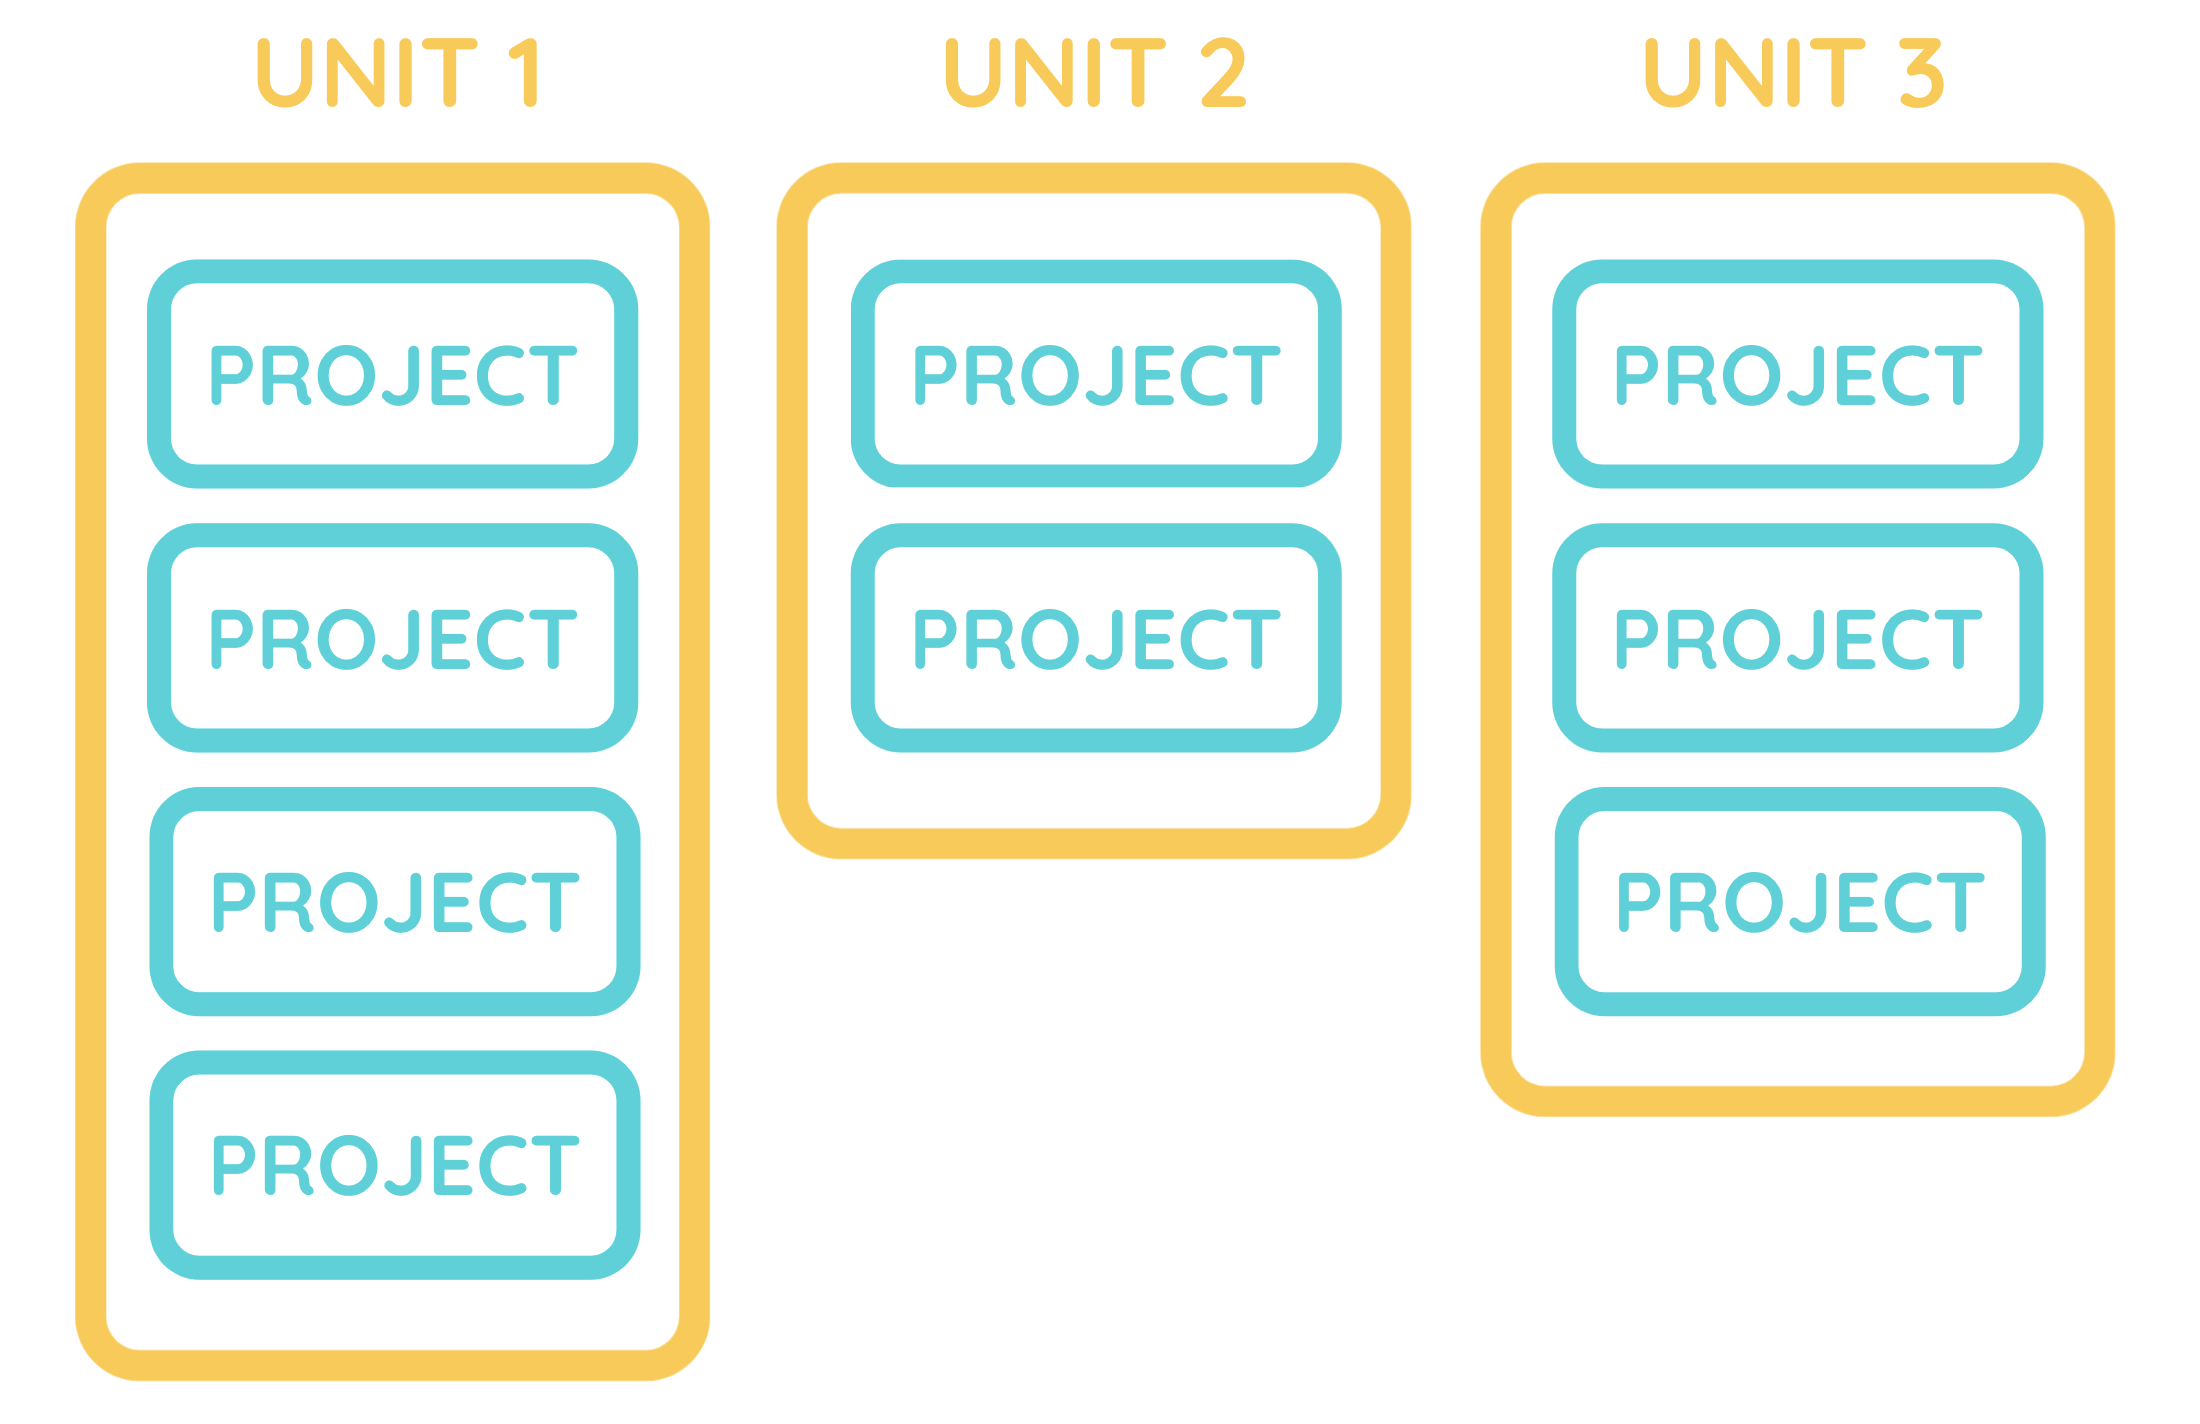
You might call them “modules” or “subject matters", the point is: units organise your course around topics or timeframes.
For example, for an instructional design course, you could have:
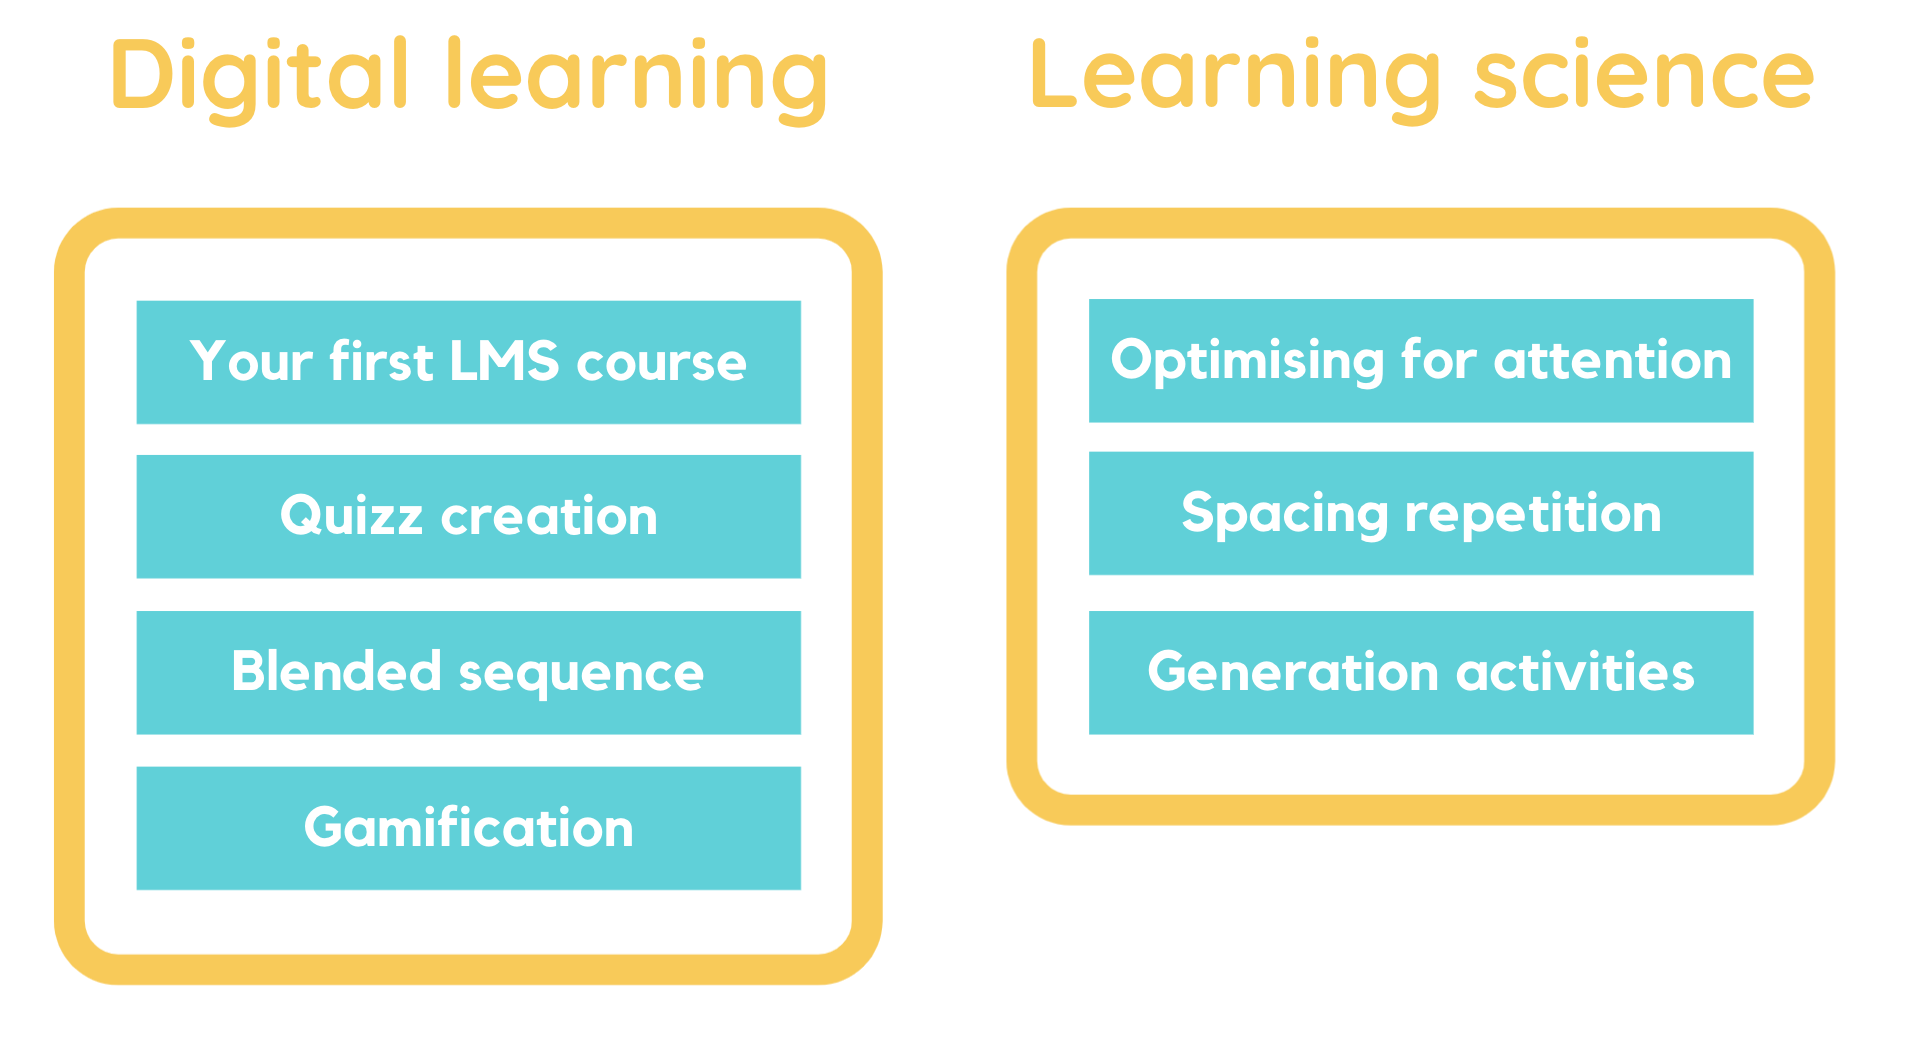
Right, that's it for the very high-level view of course organisation.
Now, let's dive right into building our first course - you'll see how it looks in action.
Our first course
Our first course will be very basic.
We'll create a unit called "Learning Science", and inside it we'll create a project called "Optimising for attention".

But first, it's time to introduce one of the essential concepts of the LMS: the separation of templates from sessions.
When you create a new course on Rbean, you create templates for your learning activities.
When you get a new class of students, you create a session out of those templates.

Why introduce complexity with templates?
On one hand, it is more complicated if you just want to run a course once and be done with it.
On the other hand, it's a lot more convenient if:
- you repeat the same program several times
- you need to re-use the same project in different programs
So, here's what we will do, in order:
- Create our first unit template
- Create our first project template
- Create a unit session and make our course go live!
1. Our first unit template
Log in with an admin account, and click on the Templates link in the left-side menu.

This brings you to the Templates page, where you can choose to create a new unit.
Below is a 30-sec video of me creating the "Learning Science" unit. You can follow along and create the exact same unit, or you can put whatever info you want there.
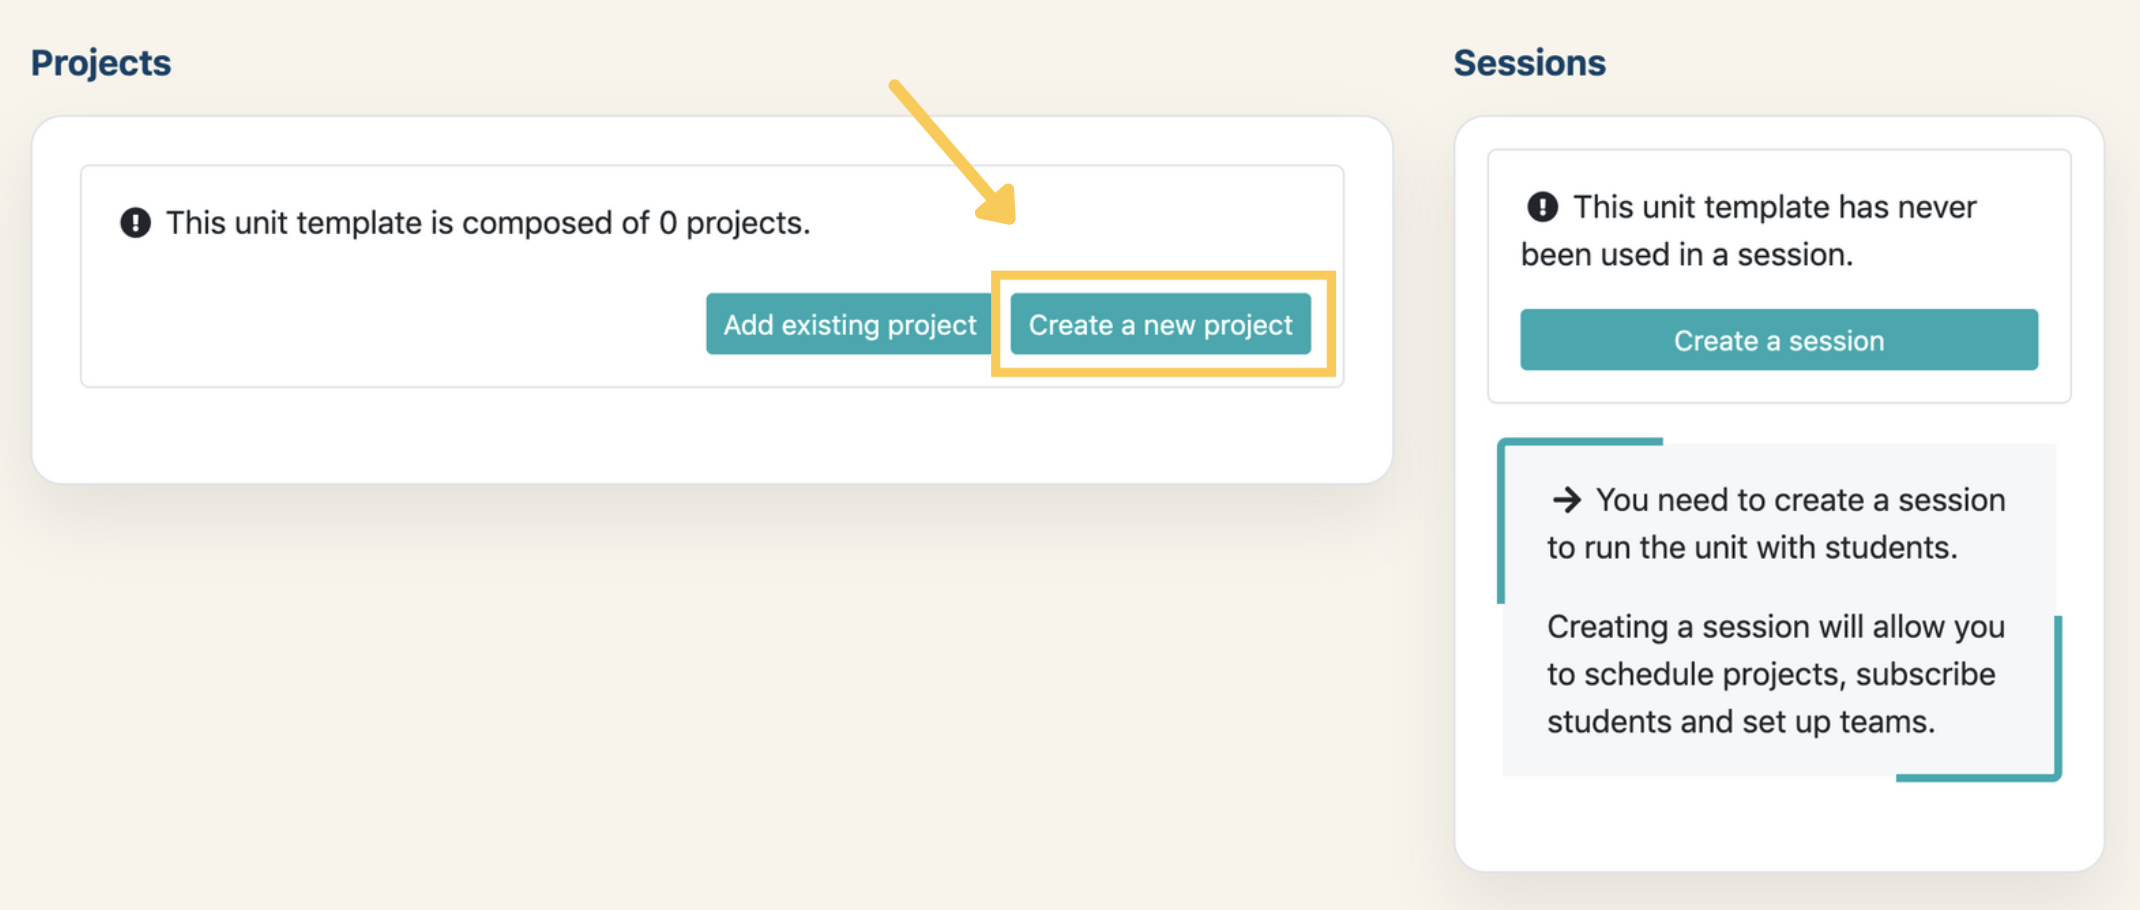
Once the unit is created, the page will display this:
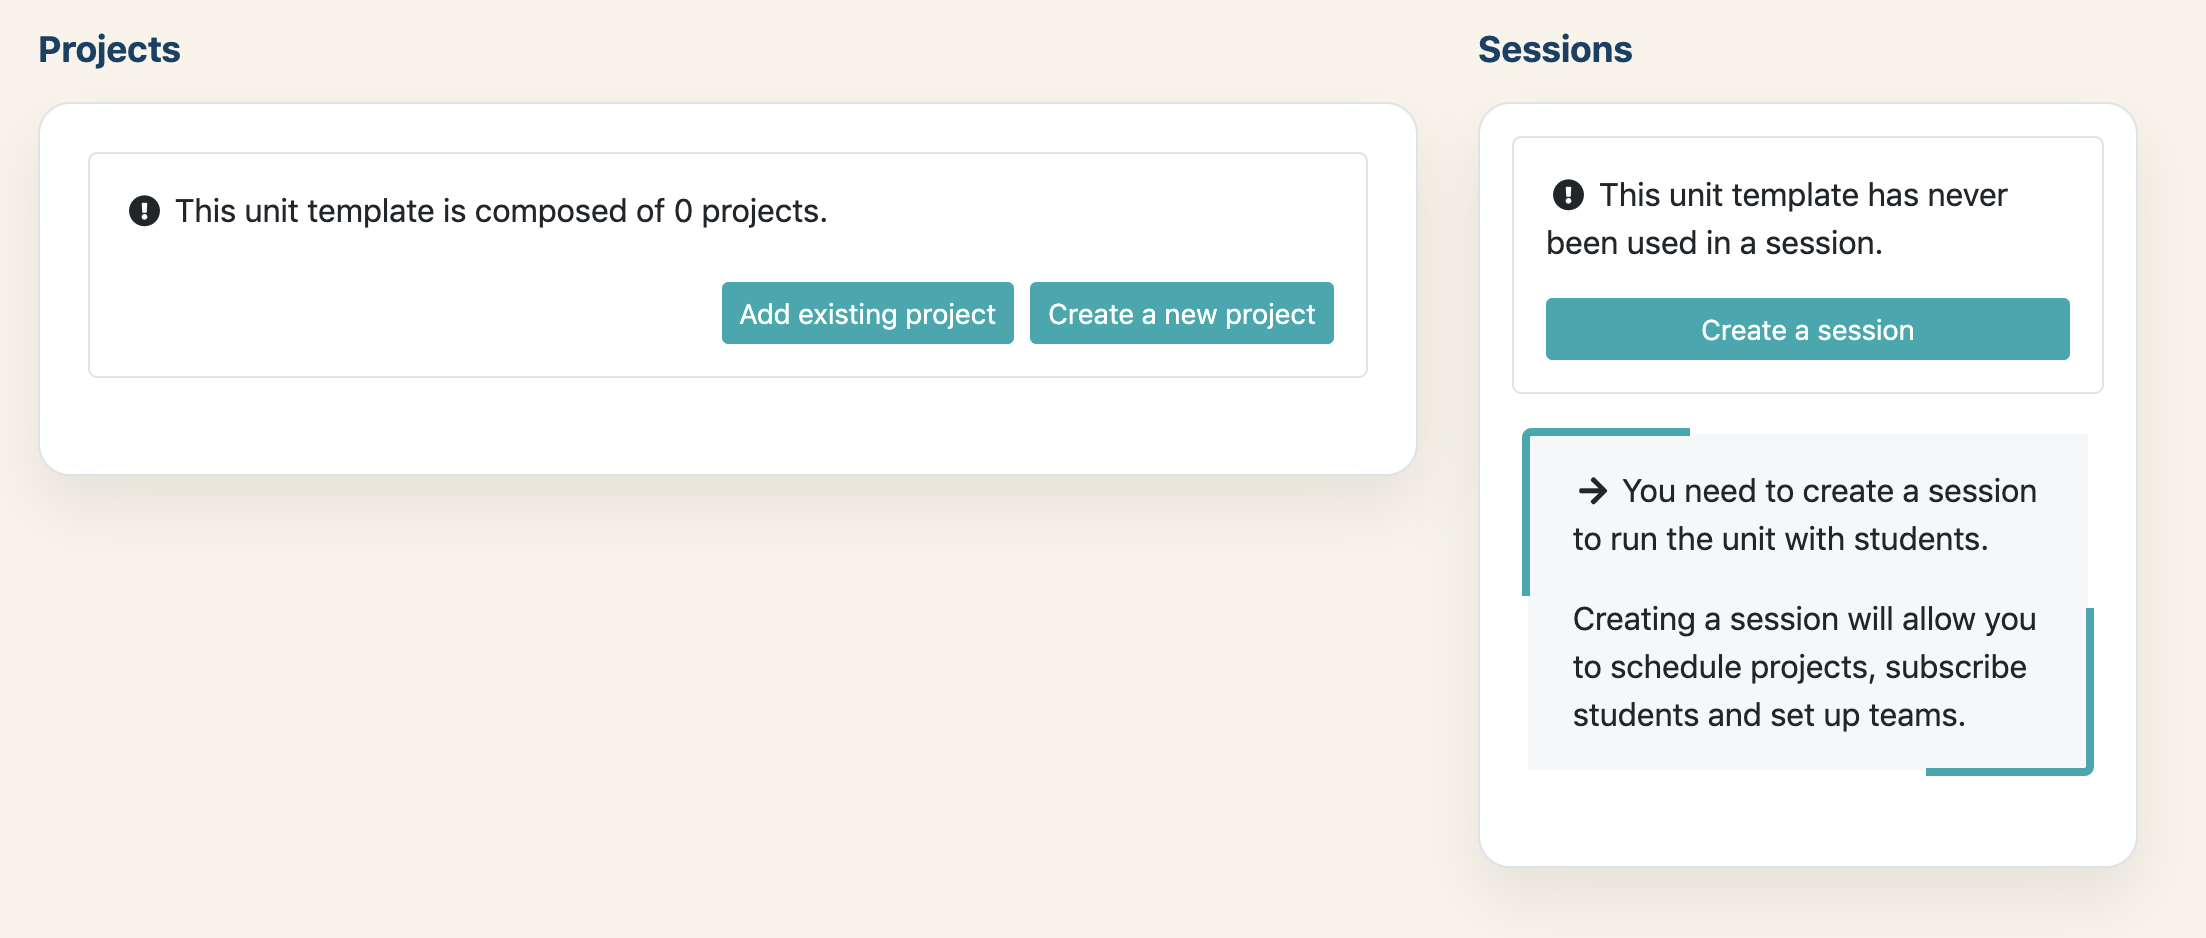
- On the left, it says that your unit template contains no projects. That's because when I created the unit, I skipped adding projects to it - so it's an empty unit.
- On the right, it says that you have never run this unit with students. Makes sense, since we just created it.
We have the option of adding an existing project or creating a new one. We'll go for the second option and create our “Optimising for attention” project.
You can go ahead and click on Create a new project.
2. Our first project template
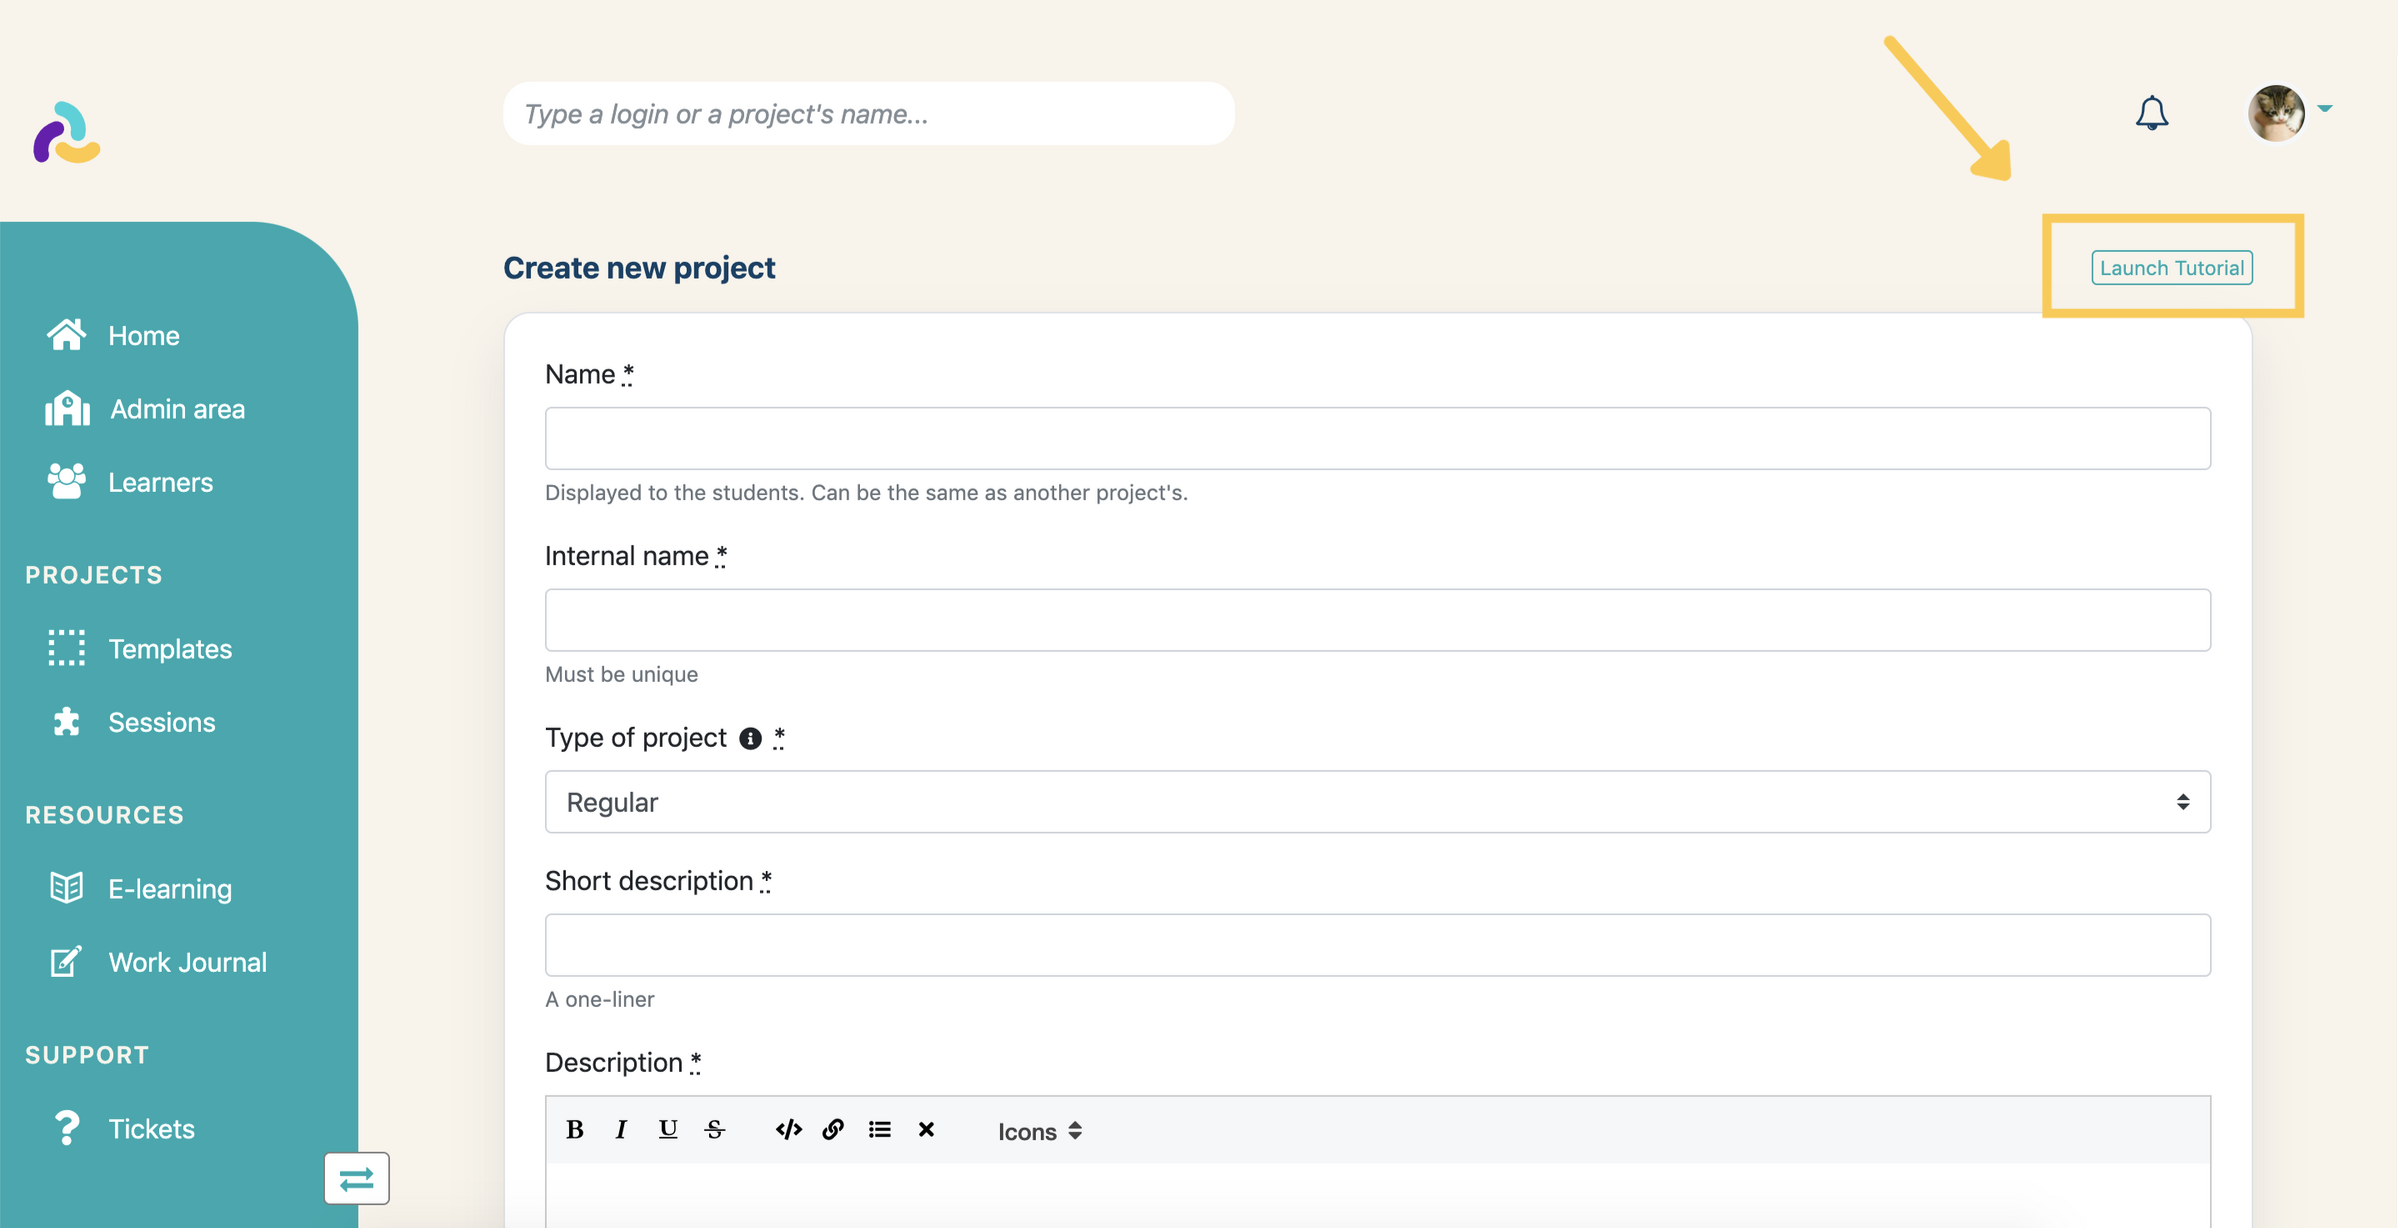
You have now arrived at the project creation form.
Now, I'm not going to describe each section of the form here, because there's a nifty live tutorial that does just that. It points sections out as it moves along and you can stop it anytime.
Below is a 40-sec video of me creating the “Optimising for attention” project (save for me typing in the first fields).
I'm configuring it with an Upload deliverable so that students can hand in their work as a file.
Again, feel free to follow along or customise.
Ok, so now that you have created the project, we have arrived at a beast of a page: the project configuration page.
I won't lie: this page is kind of heavy.
But the good news is that most of the sections are optional, and we won't waste your time going through all of them now.
Right now we will just write speedy guidelines and we'll consider our project done.
The project guidelines go into the Subject. Perfect, that's where we are already.
Because we created the project with a single part (that I called “Guidelines”), we have one content box to fill.

Here's how I filled the guidelines:
I let you hit the Preview entire subject button if you want to see what the guidelines look like.
Or, if you want to preview the whole project, you can hit the Preview as student button (bottom right).
Now, we are almost done!
We need to create a session and that'll be it, our course will be live. :)
3. Create a unit session
Now that we want to create a session, we need to go back to the unit.
We can go back to the unit directly from the project (or through the Templates link in the menu):
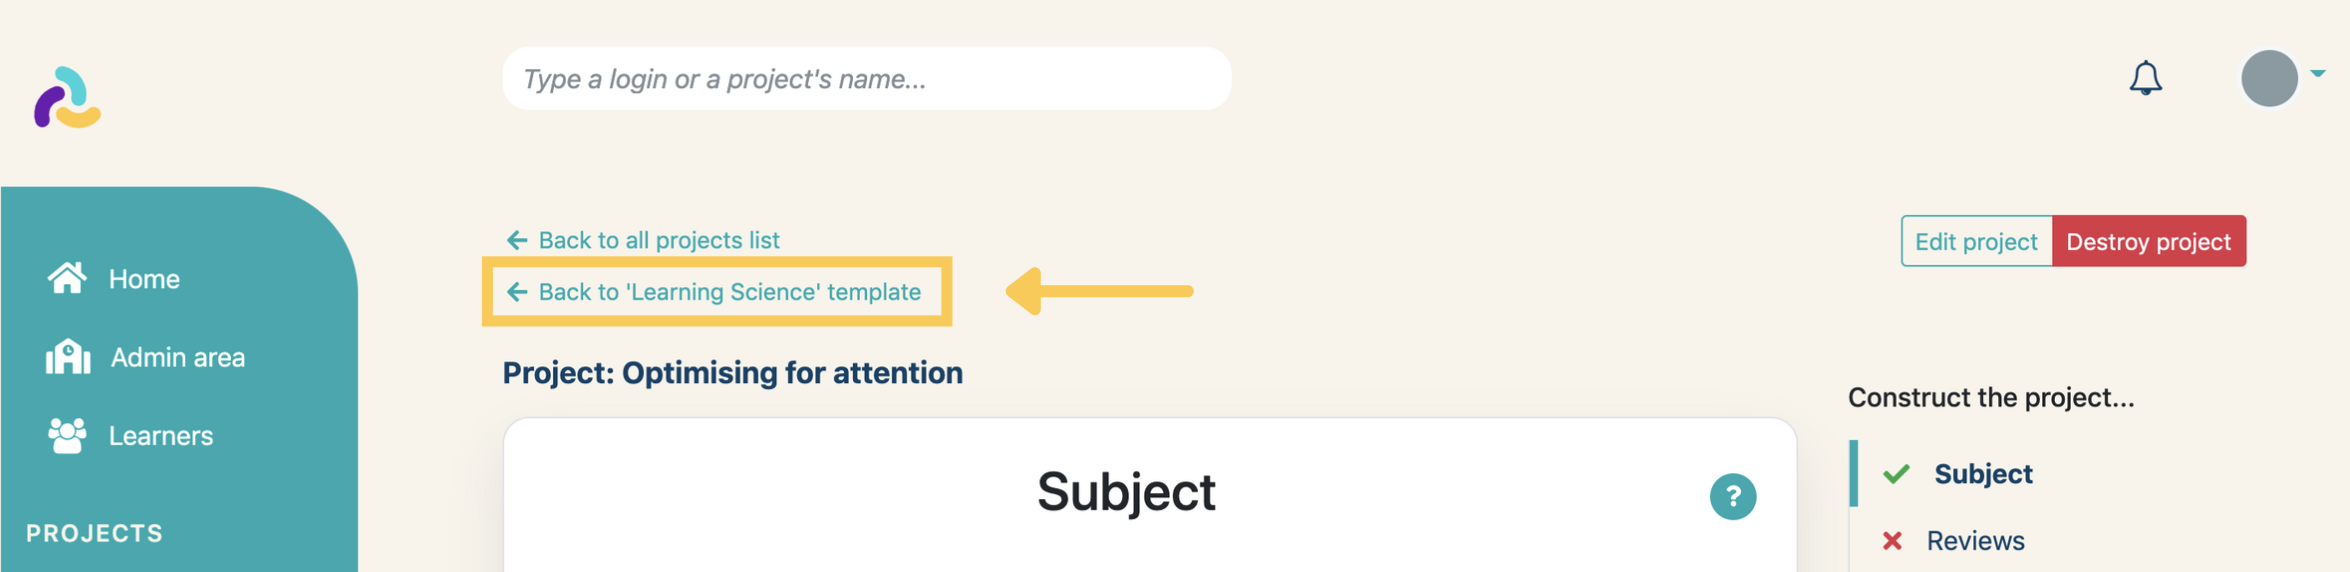
As you can see, our project has been added to the unit template!
Now let's simply create a session.
Below is a video of me creating the session and specifying running dates for the project “Optimising for attention”.
And that's it, your course is already live!
To monitor live projects, you can access them through the homepage or through the Sessions link on the left-side menu.
Here's how: